专注于SF6气体检测的专业化

What are the operating steps of SF6 gas quantitative leak detector
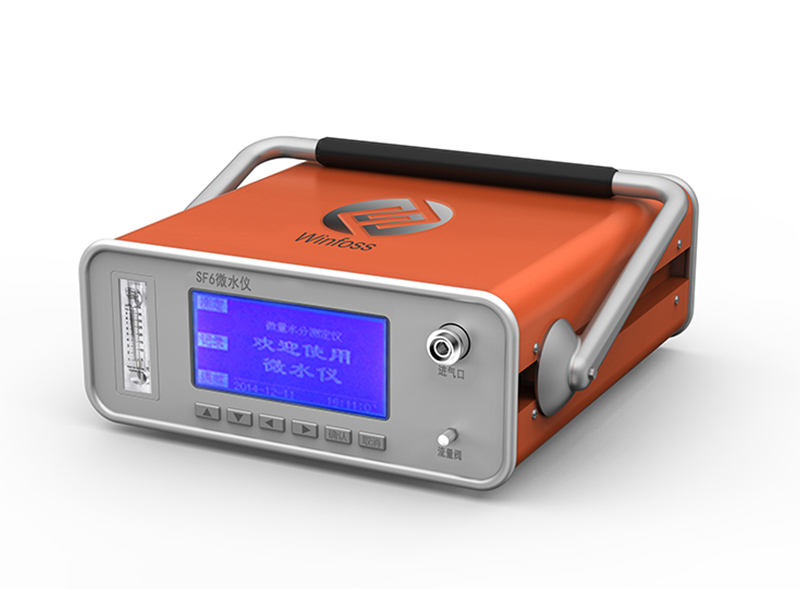
SF6 gas quantitative leak detector operation procedure
SF6 gas quantitative leak detector is a quantitative detection of gas leakage detection of SF6 circuit breakers and GIS leakage points and annual leakage rate.
SF6 gas quantitative leak detector is suitable for the power supply department, installation and maintenance units and electric power test research institute, but also suitable for SF6 high-voltage switch factory as SF6 electrical equipment and export products supporting instruments, thereby improving the overall product grade.
Operation procedure
1. Turn on the power switch of the instrument and the light is on.
2. The LCD screen displays "Welcome to use", and the instrument is being initialized *****. The instrument starts to work normally after preheating, and the initialization is to collect the reference value of SF6 gas content in the current air. Initialization takes about 10 seconds.
3. After entering the second screen, the instrument is displayed as follows:
4. As shown in the figure, the first line shows the leakage value currently tested by the instrument, and the measured value is updated in real time. When the instrument is working, the leakage concentration is large, the audible and visual alarm indicator is lit up more, and when the concentration of a certain point exceeds the benchmark value of the test, the instrument emits a certain sound rate. The second line of the LCD screen displays the maximum gas leakage measured during the test, and the third line displays the reference value of SF6 gas in the initial test air of the instrument. To re-measure the reference value, press the reset button of the instrument to re-test the reference value.
Note: When the instrument is initialized, it should keep the ambient air free of smoke, SF6 gas or choose to stay away from the detection point, after about 10 seconds, the instrument will automatically enter the second screen interface.
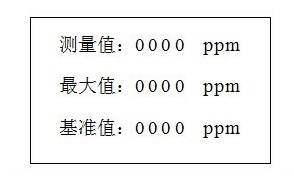
5. At this time, the instrument has measured the reference value, and the instrument is in the state of preparing for measurement. At this time, press the "measurement" key to enter the third screen, which is displayed as follows:
At this time, the handheld probe is close to the leak detection point, and slightly move left and right, the measured value is constantly changing according to the field environment concentration, and the maximum measured value during the test is displayed after 5 seconds.
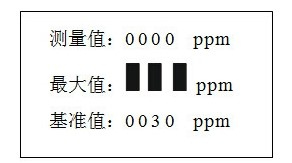
6. On the fourth screen, the following information is displayed:
When the maximum value is greater than the reference value, the instrument emits a sound of a certain acoustic frequency, and the relative leakage value can be calculated according to the display result.
7. Press the measurement button and repeat Step 4 to measure different leakage points. Until the measurement requirements are met.
8. After pressing the reset button of the instrument, the instrument automatically returns to step 2 to re-test the reference value, so that multi-point measurement can be carried out until the measurement needs are met.
9. Turn the power switch of the instrument to the critical position and turn the instrument off. Then put the instrument and probe back into the chassis.
10. Charging: When the whole machine is working, the device sends a buzzer alarm, indicating that the battery power is not enough. A charger is needed to charge the instrument at this time. The specific step is to connect the charger plug carried by the random to the upper left plug of the instrument, and connect the two-core plug at the other end of the charger to the AC 220V. At this time, the light is on. Indicates that the instrument is charging, charging for 8 hours, the instrument can work for more than 8 hours. When charging, the switch of the whole machine can be turned on or off, on can be understood as 220V AC power supply, the instrument is working while charging, and the charging time is fast.

 EN
EN


 上一条:
上一条: 

 沪公网安备31011802003762
